Installing the Laravel framework on a shared hosting is carried out in several steps, which we will analyze in detail in this manual.
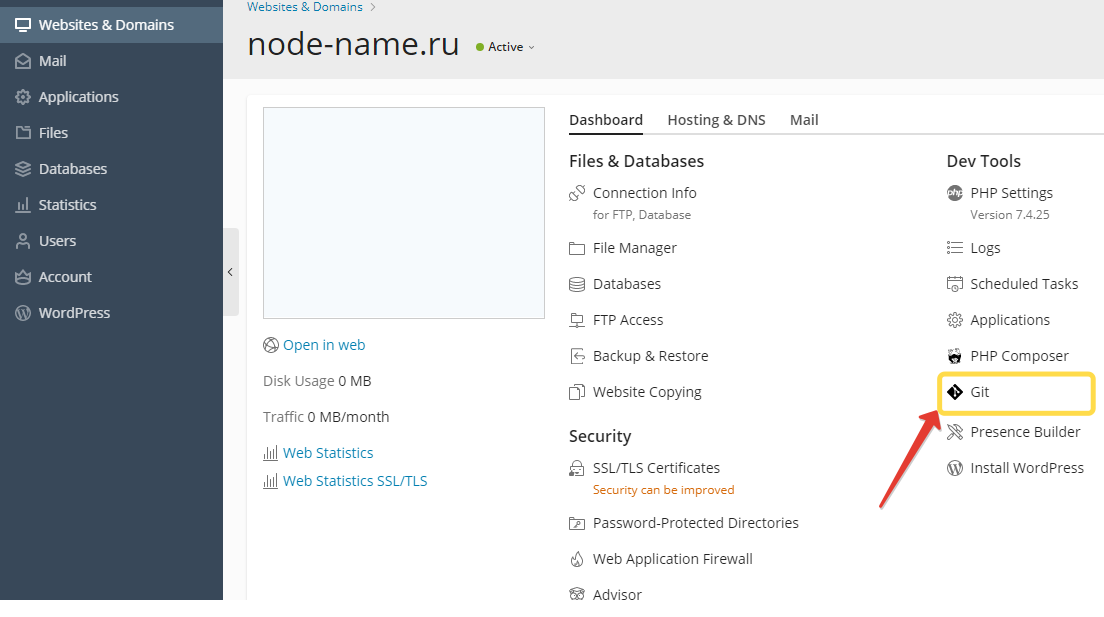
Go to the Websites and Domains menu in the hosting control panel, select the domain where you want to install the application and select the Git item from the menu as shown in the screenshot.
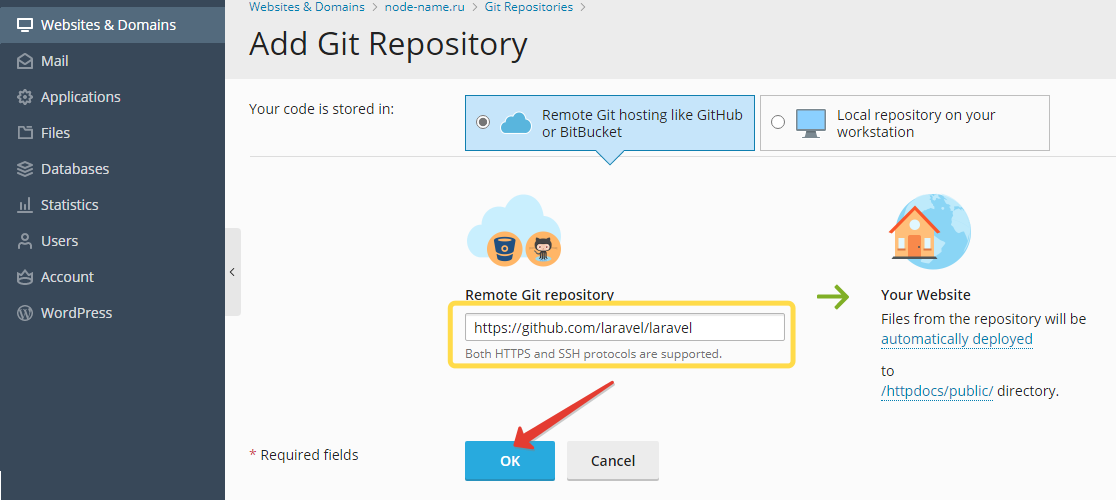
Next, in the opened Git settings menu, in the Remote Git repository field, paste the link https://github.com/laravel/laravel and click OK.
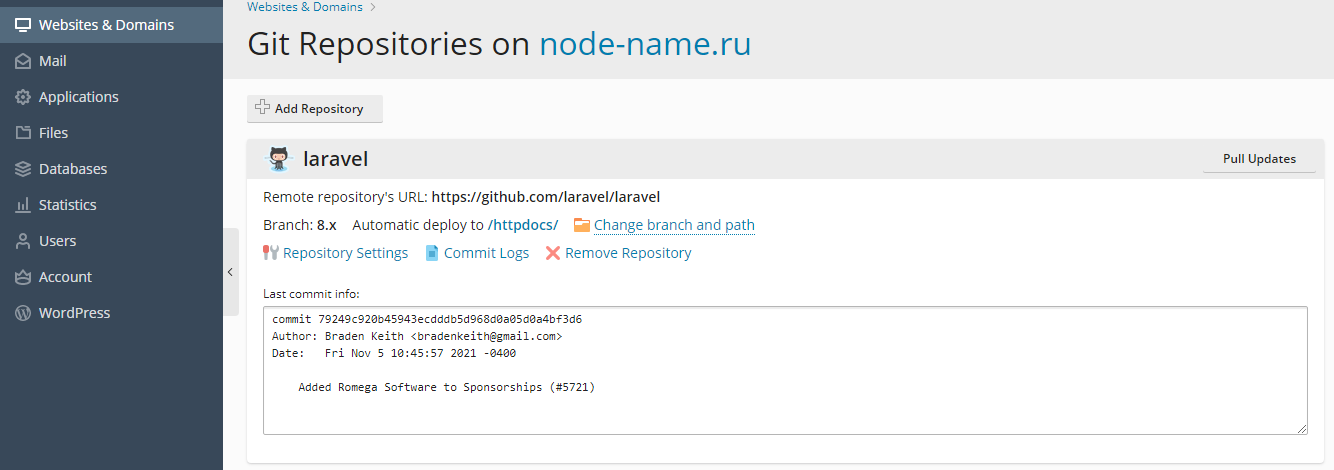
Within a few seconds, the repository will be added and show the settings menu. In our example, we used the default repository settings.
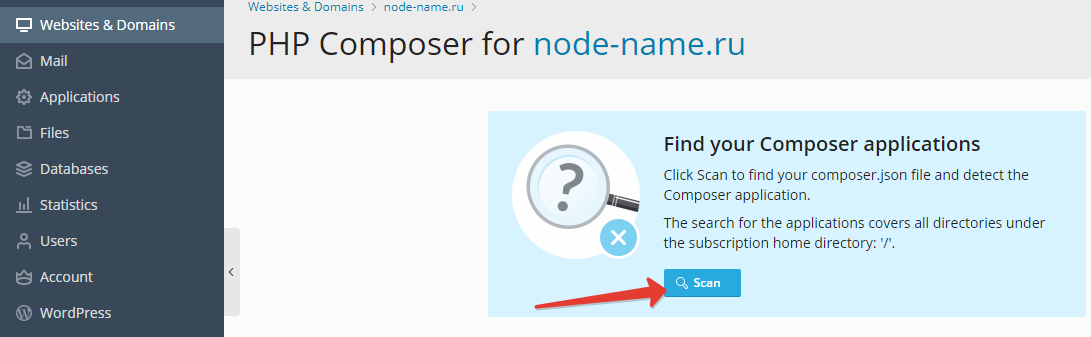
Let's return to the main menu and go to the php composer menu, we will need it to install the necessary packages. Click on the scan button.
In a few seconds, the dependencies necessary for installation will be found, necessary for correct operation, install them as shown in the screenshot below.
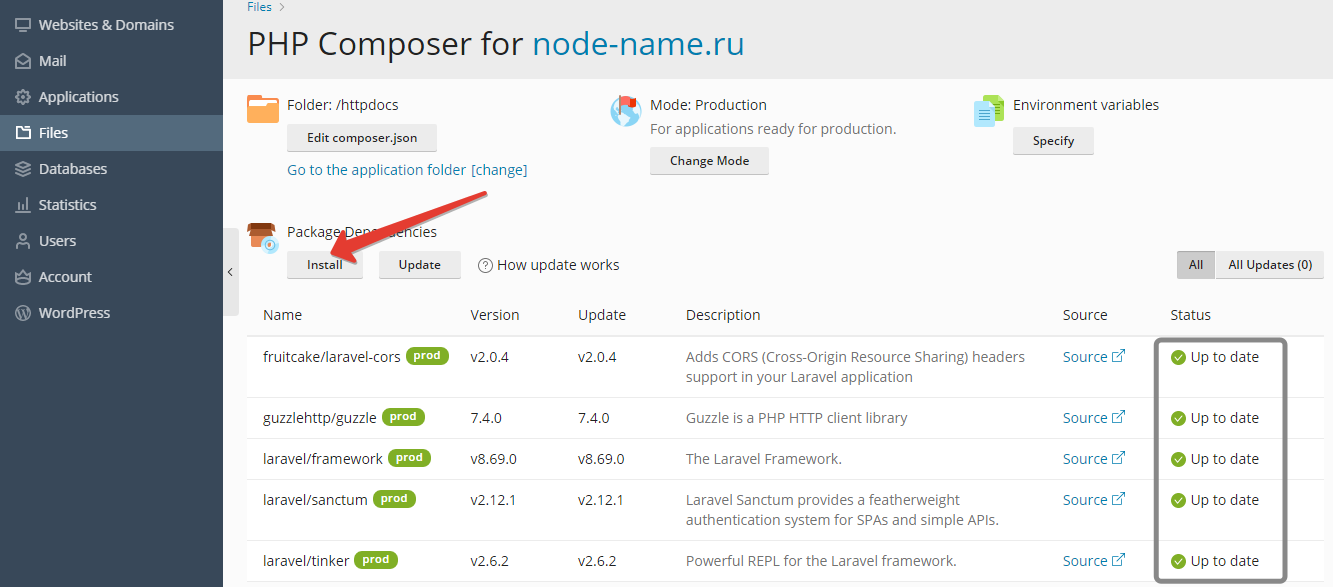
After installation, package dependencies will change their status in the highlighted block on the right to Installed.
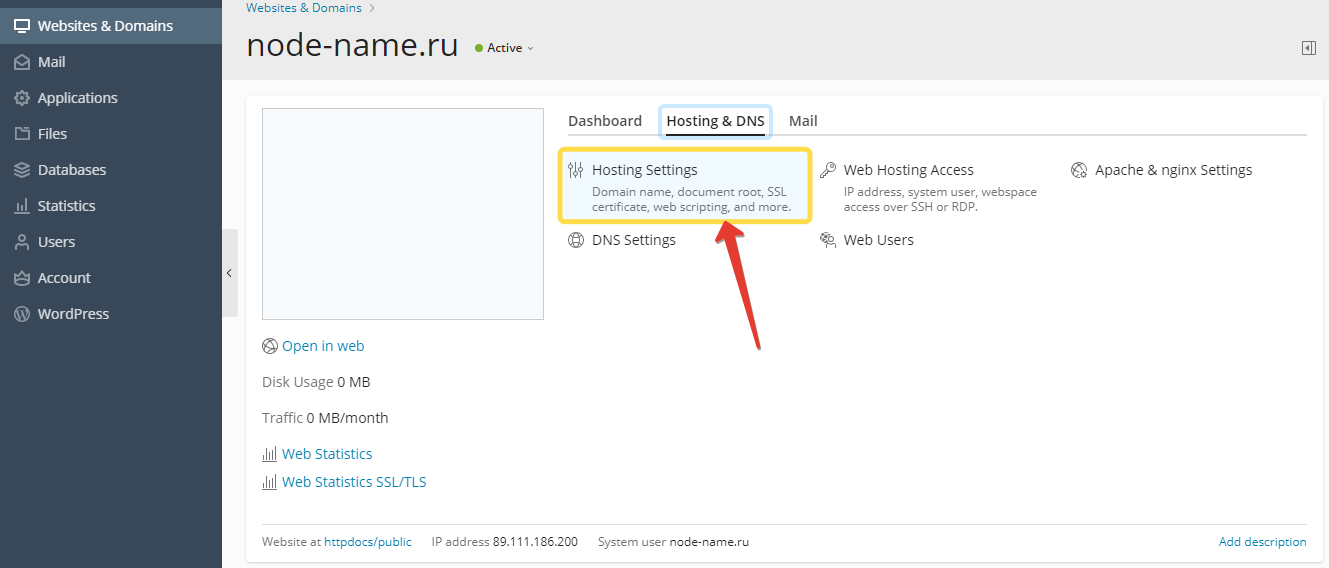
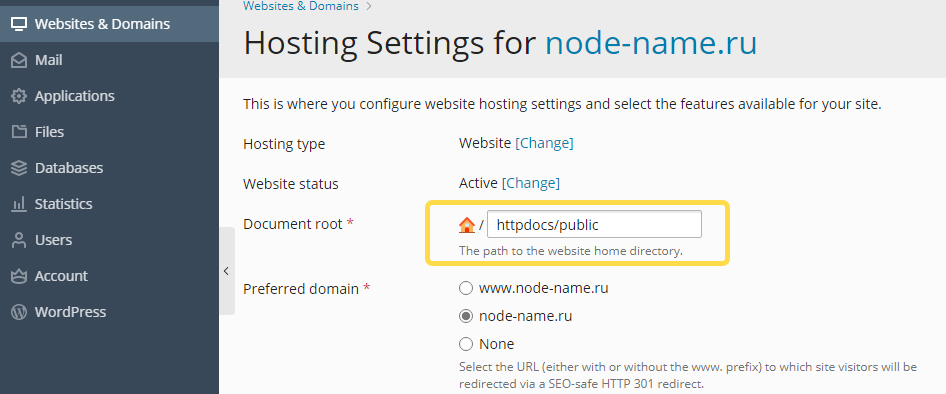
Let's go to the main menu to the hosting and php settings for the application itself. Now you need to change the default directory, in our case from httpdocs to httpdocs/public
Then click OK, it will take some time to apply the global settings, which we will inform the control panel about, this is done to avoid errors when several users work with the same domain or settings at the same time. Next, go to the php settings and make sure the version is correct, in our example we used php 7.4 running through nginx fpm.
- It is also worth making sure in the php settings that the directive open_basedir set to the value: {WEBSPACEROOT} , if nothing has been changed before, then such settings are by default.
- Now, using the file manager of the control panel, rename the file in the root of the httpdocs folder from .env.example to .env
- Next, you need to generate an encryption key, open the task scheduler in the right menu of the hosting control panel and execute a php script, where the path to the script is /var/www/vhosts/node-name.ru/httpdocs/artisan field with arguments key:generate ( Do not forget to replace the domain in the path to the script with your own)
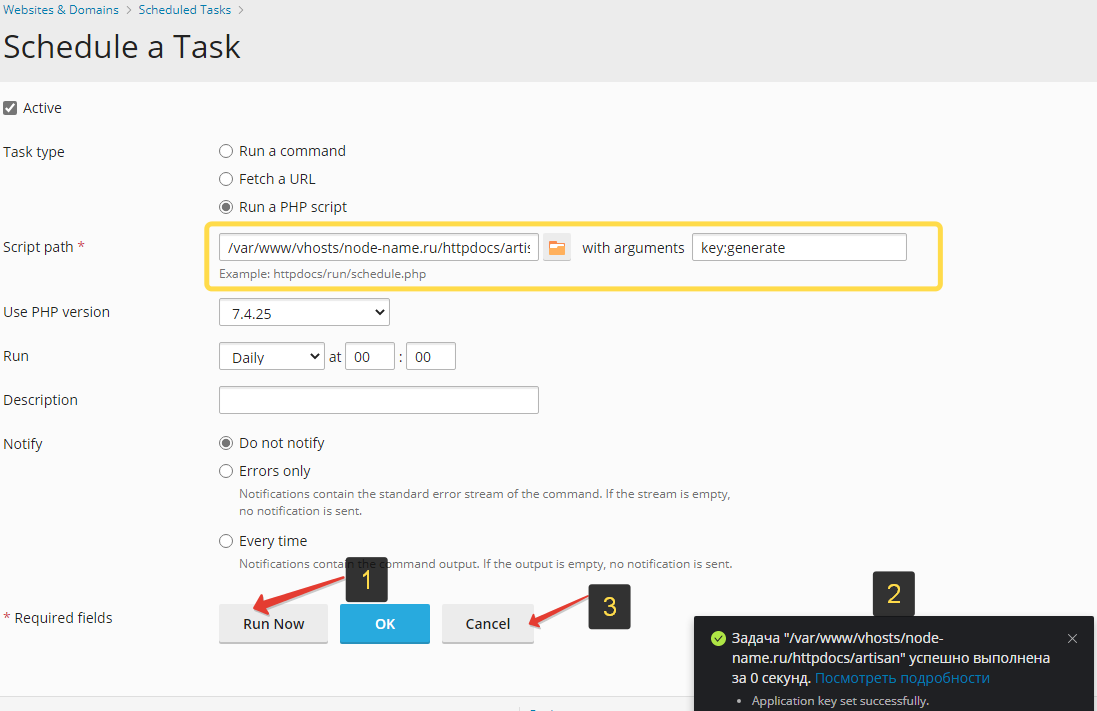
You need to execute the script only 1 time, as the task should not be added, we just used the scheduler as the command line. If the script is executed successfully, you will see the message Application key set successfully. Ready.
Our application looks like this: