
 |
In this guide, we will install the Magento application on a virtual server, so as not to do the same work every time, we will take the assembly as a vps server web stack on Debian 12. This assembly is specially created to quickly deploy web applications that require PHP and mariadb. Let's download the latest version from the official website and install it through a browser. All necessary services are already installed and configured. You can also order a vps server with pre-installed magento. All you have to do is change your login and password for administration. |  |
| 1. Let's prepare the server | |
1.1 Install the necessary php modules
apt install php-fpm php-cli php-mysql php-mbstring php-xml php-gd php-bcmath php-zip php-curl php-tidy php-intl php-soap php-xsl libsodium-dev libsodium23 libssl-dev libcurl4-openssl-dev1.2 Let's create a database and user
mariadb -u root

CREATE DATABASE magento;
CREATE USER 'magentouser'@'localhost' IDENTIFIED BY 'Your_password2';
GRANT ALL PRIVILEGES ON magento.* TO 'magentouser'@'localhost';
GRANT ALL ON *.* TO 'myuser'@'localhost' IDENTIFIED BY 'Yourpassword32!' WITH GRANT OPTION;
FLUSH PRIVILEGES;
exit
1.3 Install composer
php -r "copy('https://getcomposer.org/installer', 'composer-setup.php');"
php composer-setup.php --2.2
php -r "unlink('composer-setup.php');"
mv composer.phar /usr/local/bin/composer
1.4 Download and install ElasticSearch
wget https://artifacts.elastic.co/downloads/elasticsearch/elasticsearch-8.11.3-amd64.deb
wget https://artifacts.elastic.co/downloads/elasticsearch/elasticsearch-8.11.3-amd64.deb.sha512
shasum -a 512 -c elasticsearch-8.11.3-amd64.deb.sha512
dpkg -i elasticsearch-8.11.3-amd64.deb
1.4.1 Add a file with settings
nano /etc/elasticsearch/jvm.options.d/memory.options

-Xms512m
-Xmx784m
1.4.2 Let's change the option
nano /etc/elasticsearch/elasticsearch.yml

xpack.security.enabled: false
1.4.3 Let's start the service
nano /etc/elasticsearch/elasticsearch.yml

systemctl enable elasticsearch --now
systemctl start elasticsearch.service
1.5 Install and configure Redis
curl -fsSL https://packages.redis.io/gpg | sudo gpg --dearmor -o /usr/share/keyrings/redis-archive-keyring.gpg
echo "deb [signed-by=/usr/share/keyrings/redis-archive-keyring.gpg] https://packages.redis.io/deb $(lsb_release -cs) main" | sudo tee /etc/apt/sources.list.d/redis.list
apt update
apt install redis
1.5.1 Set a password for the Redis service
redis-cli

acl setuser default >Your_Redis_Password
> OK
AUTH Your_Redis_Password
> OK
1.6 Let's prepare everything for installing magento
1.6.1 Register on the site to receive the keys
https://account.magento.com/
https://commercemarketplace.adobe.com/customer/accessKeys/
Let's create a file with the following contents
nano ~/.config/composer/auth.json

{
"http-basic": {
        "repo.magento.com": {
                   "username": "public_key",
                   "password": "private_key"
              }

}
}
1.6.2 Let's create a directory
mkdir /var/www/domain.tld -p
1.6.3 Let's go to it and start the installation
cd /var/www/domain.tld
composer create-project --repository-url=https://repo.magento.com/ magento/project-community-edition
Upon completion, you will receive a message with the address on the administration panel, we will need it a little later
[SUCCESS]: Magento Admin URI: /admin_1tbbc0
1.6.4 Move all folders and files to the root of the domain.tld folder
cd /var/www/domain.tld/project-community-edition
mv /var/www/domain.tld/project-community-edition/* /var/www/domain.tld/
mv /var/www/domain.tld/project-community-edition/.* /var/www/domain.tld/
1.6.5 Let's change the directives in the nginx file
sed -i 's/php-fpm:9000/fastcgi_backend/g' /var/www/magento/nginx.conf.sample
1.6.6 Replace the line in the configuration file
nano /var/www/magento/app/etc/di.xml

Default
^10\.[2-6]\.
Replace
^10\.([2-9]|10|11)\.
1.6.7 Let's install Magento
cd /var/www/domain.tld

bin/magento setup:install --base-url=http://magento.example.com --use-secure=1 --base-url-secure=https://magento.example.com --use-secure-admin=1 --db-host=localhost --db-name=magento --db-user=magentouser --db-password=Your_password2 --admin-firstname=myuser --admin-lastname=Lastname --admin-email=myuser@example.com --admin-user=myuser --admin-password=admin_password0 --language=en_US --currency=USD --timezone=America/Chicago --use-rewrites=1 --elasticsearch-host=http://127.0.0.1 --elasticsearch-port=9200 --session-save=redis --session-save-redis-db=0 --session-save-redis-password=Your_Redis_Password --cache-backend=redis --cache-backend-redis-db=2 --cache-backend-redis-password=Your_Redis_Password --page-cache=redis --page-cache-redis-db=4 --page-cache-redis-password=Your_Redis_Password
Once the installation is complete, you will receive a message
.......
[SUCCESS]: Magento installation complete.
[SUCCESS]: Magento Admin URI: /admin_1tbbc0
Nothing to import.
1.6.8 Let's set up cron
php bin/magento cron:install
1.6.9 Let's assign rights
chown -R www-data:www-data /var/www/domain.tld
1.7 Let's change the php8.2-fpm settings
sed -i 's/max_execution_time = 30/max_execution_time = 180/' /etc/php/8.2/fpm/php.ini
sed -i 's/max_execution_time = 30/max_execution_time = 180/' /etc/php/8.2/cli/php.ini
sed -i 's/memory_limit = 128M/memory_limit = 256M/' /etc/php/8.2/fpm/php.ini
sed -i 's/upload_max_filesize = 2M/upload_max_filesize = 25M/g' /etc/php/8.2/fpm/php.ini
sed -i 's/post_max_size = 8M/post_max_size = 25M/g' /etc/php/8.2/fpm/php.ini
sed -i 's/zlib.output_compression = Off/zlib.output_compression = On/g' /etc/php/8.2/fpm/php.ini

systemctl restart php8.2-fpm
1.8 Let's look at the main nginx configuration file:
nano /etc/nginx/conf.d/default.conf

upstream fastcgi_backend {
  server  unix:/run/php/php8.2-fpm.sock;
}

server {
  # Redirect any http requests to https
  listen 80;
  listen [::]:80;
  server_name magento.example.com;
  return 301 https://$host$request_uri;
}

server {
  listen 443 ssl http2;
  listen [::]:443 ssl http2;
  server_name magento.example.com;

  set $MAGE_ROOT /var/www/domain.tld;
  include /var/www/domain.tld/nginx.conf.sample;
  client_max_body_size 25m;

  access_log /var/log/nginx/magento.access.log;
  error_log  /var/log/nginx/magento.error.log;

  # TLS configuration
  ssl_certificate /etc/ssl/domain_fullchain.pem;
  ssl_certificate_key /etc/ssl/domain_privkey.pem;
  ssl_trusted_certificate /etc/ssl/domain_chain.pem;
  ssl_protocols TLSv1.2 TLSv1.3;

  ssl_ciphers 'ECDHE-ECDSA-AES256-GCM-SHA384:ECDHE-RSA-AES256-GCM-SHA384:ECDHE-ECDSA-CHACHA20-POLY1305:ECDHE-RSA-CHACHA20-POLY1305:ECDHE-ECDSA-AES256-SHA384:ECDHE-RSA-AES256-SHA384';
  ssl_prefer_server_ciphers on;
  ssl_session_cache shared:SSL:50m;
  ssl_session_timeout 1d;

  # OCSP Stapling ---
  # fetch OCSP records from URL in ssl_certificate and cache them
  ssl_stapling on;
  ssl_stapling_verify on;
  # ssl_dhparam /etc/ssl/certs/dhparam.pem;
}
Let's restart the service:
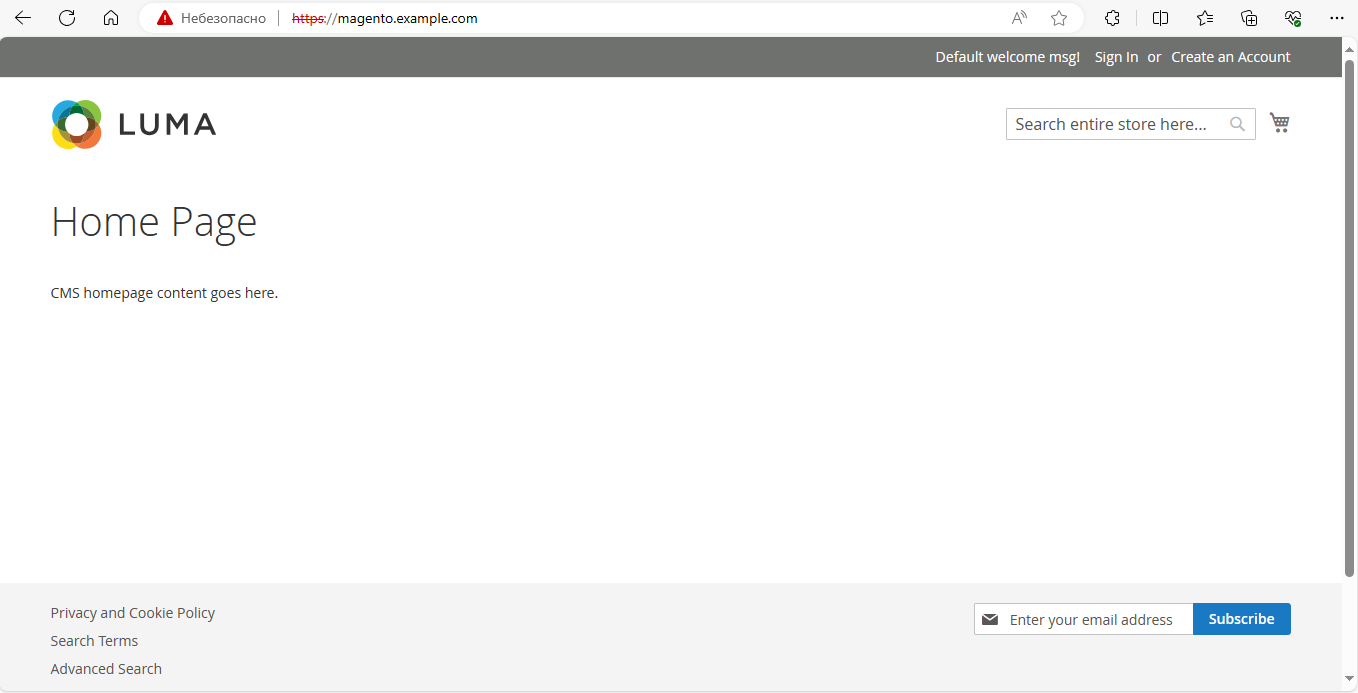
systemctl restart nginxDone, now you can go to https://magento.example.com and test the application:
You can view the link to the administrative section with the command
php /var/www/magento/bin/magento info:adminuri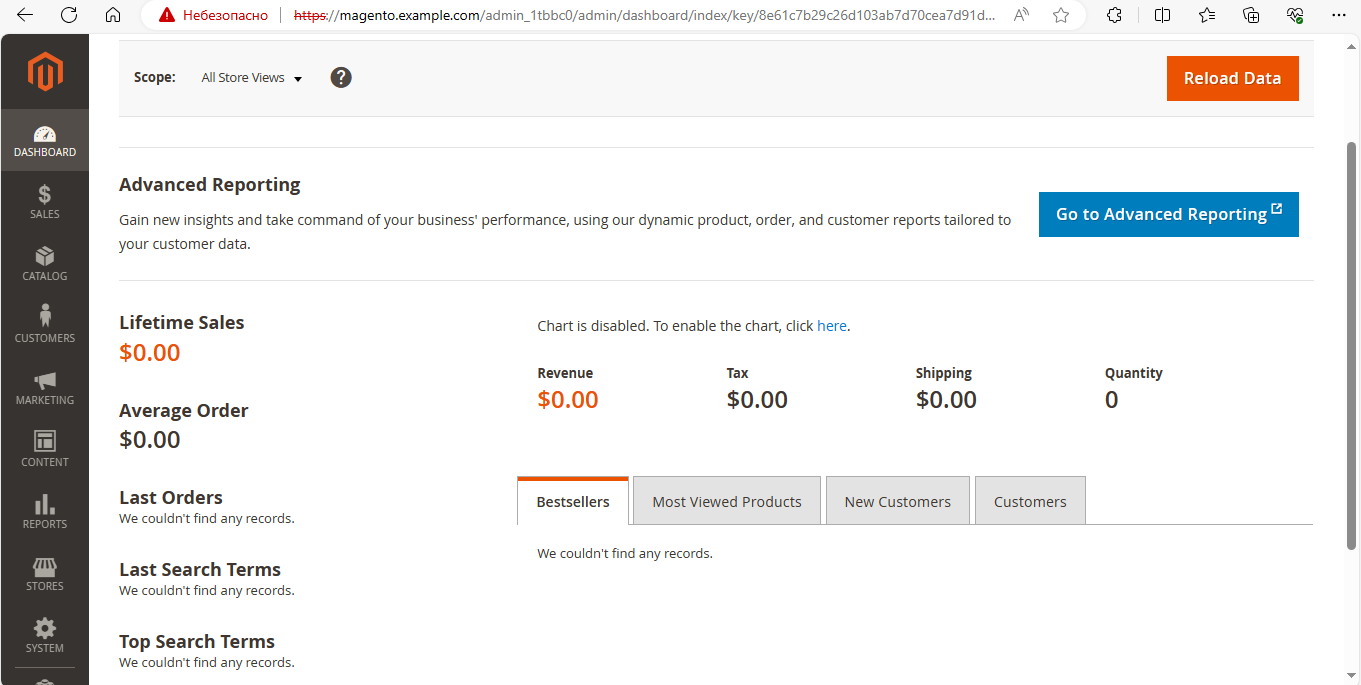
The installation is complete, below we have provided solutions to popular problems using application commands.
By default, two-factor authentication via email is enabled for the administrative section; to disable it, use the following commands:
php /var/www/domain.tld/bin/magento module:disable Magento_AdminAdobeImsTwoFactorAuth
php /var/www/domain.tld/bin/magento module:disable Magento_TwoFactorAuth
php /var/www/domain.tld/bin/magento setup:di:compile
php /var/www/domain.tld/bin/magento c:c
To view the configured domain, use the command
bin/magento config:show web/secure/base_urlTo change domain
php bin/magento setup:store-config:set --base-url="http://new-domain.tld/"
or for https
php bin/magento setup:store-config:set --base-url-secure="https://new-domain.tld/"
If styles are not displayed correctly, use these commands:
cd /var/www/domain.tld
$ php bin/magento setup:static-content:deploy -f
$ php bin/magento indexer:reindex