
 |
In this guide, we will install the Moodle application on a virtual server, so as not to do the same work every time, we will take the assembly Web stack on Debian 12. This assembly is specially designed to quickly deploy web applications requiring php and mariadb. Download the latest version from the official site, install through the browser. All necessary services are already installed and configured. You can also order a vps server with pre-installed Moodle, you will only need to specify a login and password for administration. |  |
| 1. Download the latest version of Moodle |
|
apt update && sudo apt upgrade
wget https://download.moodle.org/download.php/stable402/moodle-latest-402.zip
mkdir -p /var/www/moodledata
unzip moodle-latest-402.zip -d /var/www/
mv /var/www/moodle/ /var/www/domain.tld
apt install php8.2-intl php8.2-soap
2. Create a database and write in the settings
mariadb -u root

create database moodle;
grant all privileges on moodle.* to user@localhost identified by 'your-password';
flush privileges;
exit;
3. Web service setup
Assign rights and create a configuration file for our domain:
chown www-data:www-data /var/www/domain.tld/ -R
mv /etc/nginx/conf.d/default.conf /etc/nginx/conf.d/domain.tld.conf
Configuration file:
/etc/nginx/conf.d/domain.tld.conf

server {
  listen 80;
  listen [::]:80;
  server_name _;
  root /var/www/domain.tld;
  index index.php index.html index.htm index.nginx-debian.html;

  location / {
    try_files $uri $uri/ /index.php;
  }

  location ~ \.php$ {
    fastcgi_pass unix:/run/php/php8.2-fpm.sock;
    fastcgi_param SCRIPT_FILENAME $document_root$fastcgi_script_name;
    include fastcgi_params;
    include snippets/fastcgi-php.conf;
  }

location /phpmyadmin {
        auth_basic "Admin Login";
        auth_basic_user_file /etc/nginx/pma_access;
    }

 # A long browser cache lifetime can speed up repeat visits to your page
  location ~* \.(jpg|jpeg|gif|png|webp|svg|woff|woff2|ttf|css|js|ico|xml)$ {
       access_log        off;
       log_not_found     off;
       expires           360d;
  }

  # disable access to hidden files
  location ~ /\.ht {
      access_log off;
      log_not_found off;
      deny all;
  }
}
Let's restart the services:
service nginx restart
/etc/init.d/php8.2-fpm restart
Change the ftp user's home directory to ours:
/etc/passwd

ftpuser:x:1000:1000:,,,:/var/www/domain.tld:/bin/bash
Let's change the path to phpMyAdmin for our configuration:
ln -s /usr/share/phpmyadmin /var/www/domain.tld/
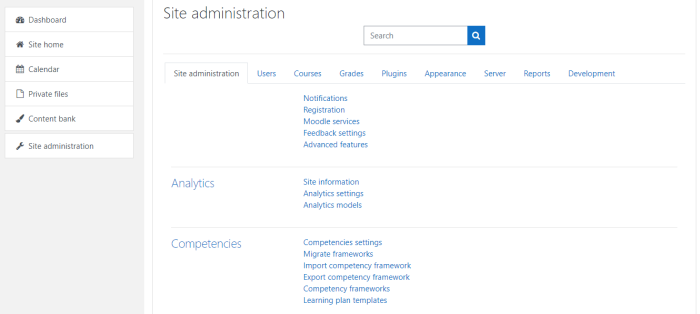
Change domain.tld to your already configured in the DNS editor to the ip address of the VPS server. Thus, you can add several sites by analogy. Go to the browser using the configured http://domain.tld/ domain and complete the installation in the browser. You will be prompted to enter an administrator username and password. This completes the installation. In case of site transfer, you can place existing files and import the database.
4. To complete the installation, you must specify a username and password, follow the link:
http:///Refresh the page and test the application.
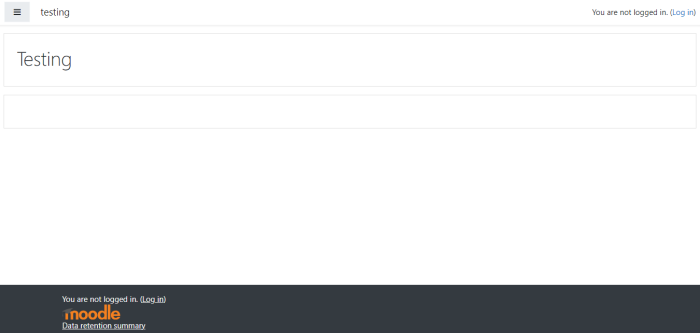
Administrative section access by link http://server-ip/moodle/admin/
Moodle installation is complete.