
Installing Owncloud on a virtual server is performed using a package that includes all the necessary services. Installation is carried out in the ssh linux console, Centos 7 is used as a server. The latest version of the package can be found on the developer's website Bitnami.
Before starting the installation, you need to make sure that there are no pre-installed services on the server, for example, to remove apache, use the command:
# yum remove httpd
We also recommend to immediately configure the firewall service:
# iptables -A INPUT -p tcp -m tcp --dport 80 -j ACCEPT
# iptables -A INPUT -p tcp -m state --state NEW -m tcp --dport 80 -j ACCEPT
# service iptables save
# service iptables restart
Download and install the package:
# wget http://iso.synay.net/vm-apps/bitnami-owncloud-10.6.0-2-linux-x64-installer.run
# chmod +x bitnami-owncloud-10.6.0-2-linux-x64-installer.run
# ./bitnami-owncloud-10.6.0-2-linux-x64-installer.run
The script will offer a choice to install additional tools:
Is the selection above correct? [Y/n]: Y
The choice was made correctly
Select a folder [/opt/owncloud-10.6.0-2]:
Press Enter if you want to leave the specified path as default
Your real name [User Name]: admin
Enter a username, for example admin
Login [user]: user
Password : ******
Administrator login and password
Hostname [xx.xxx.xxx.xx]:
Enter your domain if available or leave the field as it is.
Do you want to configure mail support? [y/N]: N
Configuring mail for the site (default N)
[1] Development Options: Lets you change file permissions and configuration options that make it easier to install plugins, themes, and updates for specific applications, but are not optimal for security. Recommended if you are using this application for development purposes or in your company.
[2] Manufacturing settings: File permissions and configuration options will be set with security and performance in mind. Installing certain plugins, themes and updates may require manual changes or the installation of additional services such as FTP. Recommended if this application will be deployed to a public server.
Please choose an option [2] :
Leave as default.
Do you want to continue? [Y/n]: Y
Proceed with installation.
Launch Owncloud application. [Y/n]: Y
Launch the application.
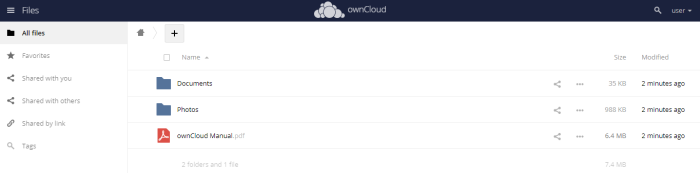
Now you can open a link like http://server_ip/ in a browser and test the application.
In order to transfer the application to the root (without the owncloud folder), use the command
# installdir/apps/APPNAME/bnconfig --appurl /
In this case, the command will look like this:
# /opt/owncloud-10.6.0-2/apps/owncloud/bnconfig --appurl /
To turn off the auxiliary menu, use the command
# installdir/apps/APPNAME/bnconfig --disable_banner 1
In this case, the command will look like this:
# /opt/owncloud-10.6.0-2/apps/owncloud/bnconfig --disable_banner 1
Owncloud installation completed.