
Installing Trac on a virtual server is done using a package that includes all the necessary services. Installation is performed in ssh linux console, Centos 7 is used as a server. The latest version of the package can be found on the developer's website Bitnami.
Before starting the installation, you need to make sure that there are no pre-installed services on the server, for example, to remove apache, use the command:
# yum remove httpd
We also recommend setting up the firewall service right away:
# iptables -A INPUT -p tcp -m tcp --dport 80 -j ACCEPT
# iptables -A INPUT -p tcp -m state --state NEW -m tcp --dport 80 -j ACCEPT
# service iptables save
# service iptables restart
Download and install the package:
# wget http://iso.synay.net/vm-apps/bitnami-trac-1.4.2-0-linux-x64-installer.run
# chmod +x bitnami-trac-1.4.2-0-linux-x64-installer.run
# ./bitnami-trac-1.4.2-0-linux-x64-installer.run
Language Selection
Please select the installation language
[1] English
[2] Spanish
[3] Simplified Chinese
Please choose an option [1] :
We keep the default English to avoid problems with encoding in other languages, and also to keep it consistent with the description below. (press Enter)
Select a folder [/opt/trac-1.4.2-0]:
Press Enter if you want to leave the specified path as default
Login [user]: user
Password : ******
Trac administrator login and password
[1] Subversion [2] Git
Please choose an option [2] :
Repository type, select the default, press Enter
Project Name [Project]: Test
Project name, for example Test
Select a folder [/opt/trac-1.4.2-0/apps/trac/trac_projects]:
Project folder, leave it as it is, press Enter
Select a folder [/opt/trac-1.4.2-0/apps/trac/trac_repositories/repository]:
Folder with repositories, leave by default, press Enter
Do you want to continue? [Y/n]: Y
Proceed with installation.
Launch Trac application. [Y/n]: Y
Launch the application.
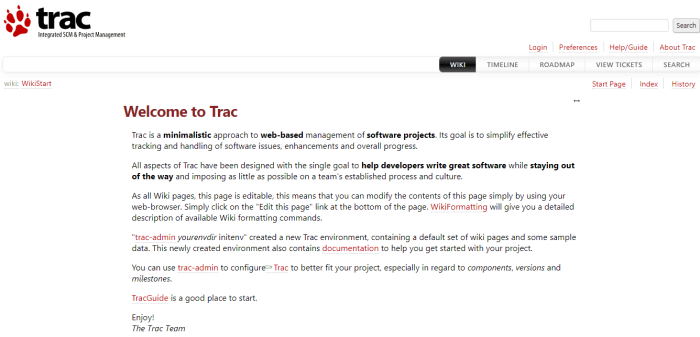
Now you can open a link like http://server_ip/ in a browser and test the application.
In order to move the application to the root (without the trac folder), use the command
# installdir/apps/APPNAME/bnconfig --appurl /
In this case, the command will look like this:
# /opt/trac-1.4.2-0/apps/trac/bnconfig --appurl /
To turn off the auxiliary menu, use the command
# installdir/apps/APPNAME/bnconfig --disable_banner 1
In this case, the command will look like this:
# /opt/trac-1.4.2-0/apps/trac/bnconfig --disable_banner 1
To get started, you need to go under the user specified during installation and the administration option will appear.
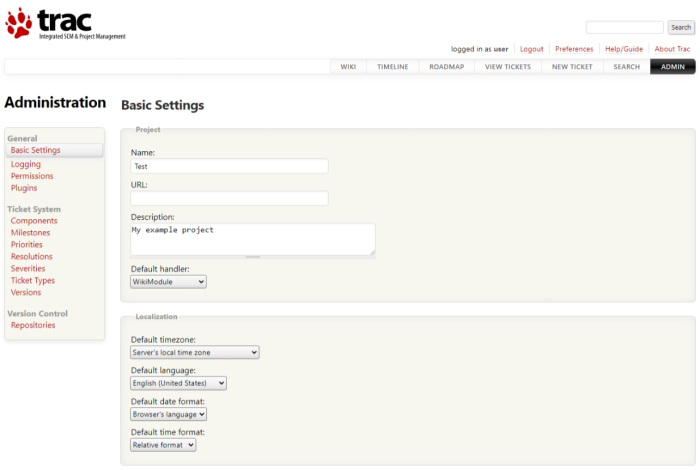
Trac installation is complete.